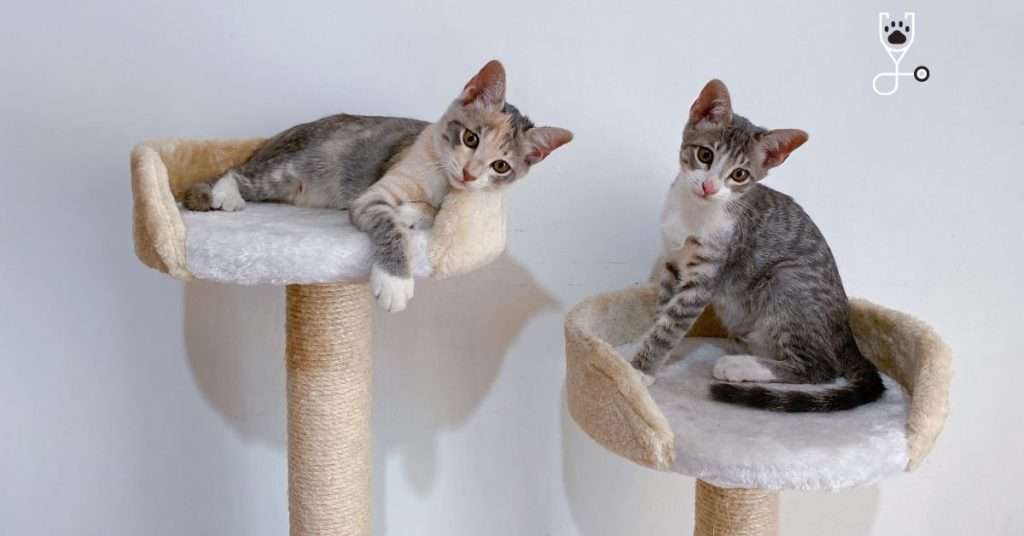
We’ve all seen those amazing, expensive cat trees and houses that look like real pieces of furniture. But what if you’re on a budget, or just want to make something more unique for your cat? It’s actually really easy to make your own cat tree or house out of materials you probably have lying around the house. In this blog post, we’ll show you how to do it!
Construct a Tree or House for Your Cat
As any pet owner knows, animals need a safe and comfortable place to call their own. A house or shelter can provide them with a sense of security and help to keep them warm, dry, and out of the elements. While there are many commercially available options, it can be just as easy (and much more affordable) to build your own cat house using materials you may already have around the house or garage.
You’ve created a warm and inviting space for your cat to snuggle up in. With a little bit of imagination, you can easily turn trash into treasure and give your pet a home they’ll love.
Learn More: How to Keep Your Cat out of the Christmas Tree
Two-Tower Cat Tree With Bridges
This project is a little more involved, but if you’re up for the challenge, your cat will love it!
Materials:
- Two cardboard boxes (one slightly larger than the other)
- Tape
- Scissors
- X-ACTO knife
- Ruler or measuring tape
- Pencil
- Poster board or construction paper
- String or yarn
- Catnip (optional)
What to do:
1.) Cut four equal-sized rectangles out of the larger box. These will be the bases for each tower.
2.) Tape two rectangles together at the edges to form a cylinder. Repeat with the remaining rectangles.
3.) Using the X-ACTO knife, cut a doorway into each cylinder. The opening should be big enough for your cat to fit through comfortably.
4.) Cut four rectangles out of the smaller box. These will be the tops of each tower. Tape them onto the cylinders, aligning the edges.
5.) Cut eight rectangles out of poster board or construction paper. These will be the bridges connecting the towers. Tape them onto the cylinders, making sure to leave enough space for the doorways.
6.) Wrap string or yarn around each bridge to create a handrail.
7.) Sprinkle catnip inside the towers (optional).
Your cat will love exploring their new home!
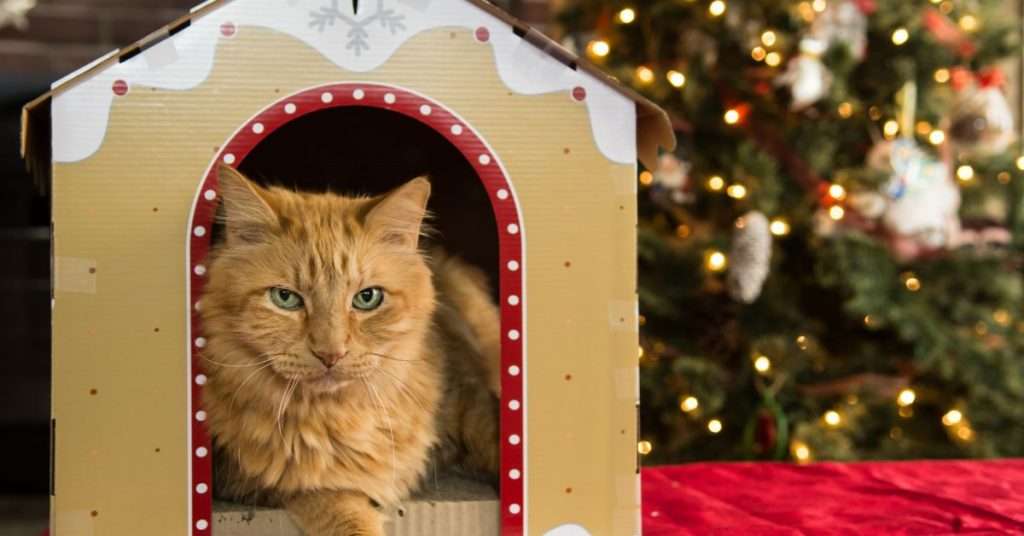
Tunnel Cat House
This simple project is perfect for smaller spaces.
Materials:
- Large cardboard box
- Tape
- Scissors
- X-ACTO knife
- Ruler or measuring tape
- Pencil
- Construction paper or poster board (optional)
- String or yarn (optional)
- Catnip (optional)
What to do:
1.) Cut one end off of the cardboard box, making sure it’s big enough for your cat to fit through comfortably.
2.) Tape the open end shut.
3.) Using the X-ACTO knife, cut doorways and windows into the sides of the tunnel. You can also decorate the outside with construction paper or poster board.
4.) Wrap string or yarn around the doorways and windows (optional).
5.) Sprinkle catnip inside the tunnel (optional).
Your cat will love darting in and out of its new home!
Get Ultimate Cats Guide Here: The Ultimate Guide To Pet Care
Tire Cat House
This project is perfect for cats who love to climb!
Materials:
Large tire
Tape
Scissors
X-ACTO knife
Ruler or measuring tape
Pencil
Construction paper or poster board (optional)
What to do:
1.) Cut a doorway into the side of the tire, making sure it’s big enough for your cat to fit through comfortably.
2.) Tape the open end of the tire shut.
3.) Using the X-ACTO knife, cut windows into the sides of the tire. You can also decorate the outside with construction paper or poster board.
Your cat will love climbing in and out of its new home!
Here are a few more ideas to get you started:
- Hang a basket from the ceiling and line it with a soft blanket to create a cozy spot for your cat to sleep.
- Turn an old dresser into a cat house by cutting doorways and windows into the sides and adding a soft blanket inside.
- Use an old bookshelf or storage unit to create levels for your cat to explore. Add baskets, blankets, and toys for them to enjoy.
Minimalist Indoor Cat Tree
This project is perfect for those who want a sleek, modern look.
Materials:
- Plywood (1/2 inch thick)
- Tape measure
- Circular saw
- Jigsaw
- Sandpaper
- Stain or paint (optional)
What to do:
1.) Cut four pieces of plywood into the following sizes: two 18-inch squares, one 18-inch by 36-inch rectangle, and one 12-inch by 36-inch rectangle. These will be the base, top, and sides of your cat tree.
2.) Cut four more 18-inch squares out of plywood. These will be the platforms.
3.) Cut four 2-inch diameter circles out of plywood. These will be the posts.
4.) Assemble the base, top, and sides of your cat tree with wood glue and screws. Drill pilot holes before screwing in the screws to avoid splitting the wood.
5.) Attach the platforms to the posts with wood glue and screws.
6.) Sand down any rough edges and stain or paint the cat tree (optional).
Your cat will love climbing and scratching on their new cat tree!
Read More: 10 Reasons Your Cat Is Drooling Too Much and How to Treat at Home
Simple Plywood House With Roof
This project is perfect for those who want a simple, functional cat house.
Materials:
- Plywood (1/2 inch thick)
- Tape measure
- Circular saw
- Jigsaw
- Sandpaper
- Stain or paint (optional)
What to do:
1.) Cut two 18-inch squares out of plywood. These will be the base and top of your cat house.
2.) Cut four 2-inch by 18-inch rectangles out of plywood. These will be the sides of your cat house.
3.) Cut a doorway into one of the sides, making sure it’s big enough for your cat to fit through comfortably.
4.) Assemble the base, top, and sides of your cat house with wood glue and screws. Drill pilot holes before screwing in the screws to avoid splitting the wood.
5.) Cut a piece of plywood into a 12-inch by 18-inch rectangle. This will be the roof of your cat house.
6.) Attach the roof to the cat house with wood glue and screws.
7.) Sand down any rough edges and stain or paint the cat house (optional).
Your cat will love taking refuge in their new cat house!
A Note About Safety
When working with power tools, always use safety goggles and follow the manufacturer’s instructions. Be sure to sand down any rough edges to avoid injury. Also, be sure to anchor your cat house if you’re using it indoors so it doesn’t tip over and hurt your cat.
As you can see, there are endless possibilities when it comes to creating a DIY cat house. Get creative and have fun with it! Your cat will love their new home no matter what it looks like.